Lightweight Finishes for Summer Sewing: Binding, Elastic & More
There's something magical about slipping on a beautifully made summer garment. You know the ones, they feel as good on the inside as they look on the outside, with no scratchy seams or bulky finishes to irritate hot skin. These are the garments we reach for again and again when temperatures soar.
Today, we're exploring the art of lightweight finishes, those clever techniques that create clean, comfortable edges and details without adding unnecessary bulk to your summer sewing projects.
Why Finishes Matter So Much in Summer
In warm weather, every layer counts. Each extra fold of fabric, each bulky seam, each heavy fusing adds warmth where you don't want it.
Plus, summer fabrics tend to be lighter and often sheerer, meaning those finishes are more visible and can affect how the garment hangs.
The perfect summer finish achieves three goals:
It's lightweight and adds minimal bulk
It feels comfortable against hot skin
It's durable enough to withstand frequent washing (because summer clothes get washed a lot!).
Let's dive into techniques that accomplish all three:
✨Beautiful Bias Bindings
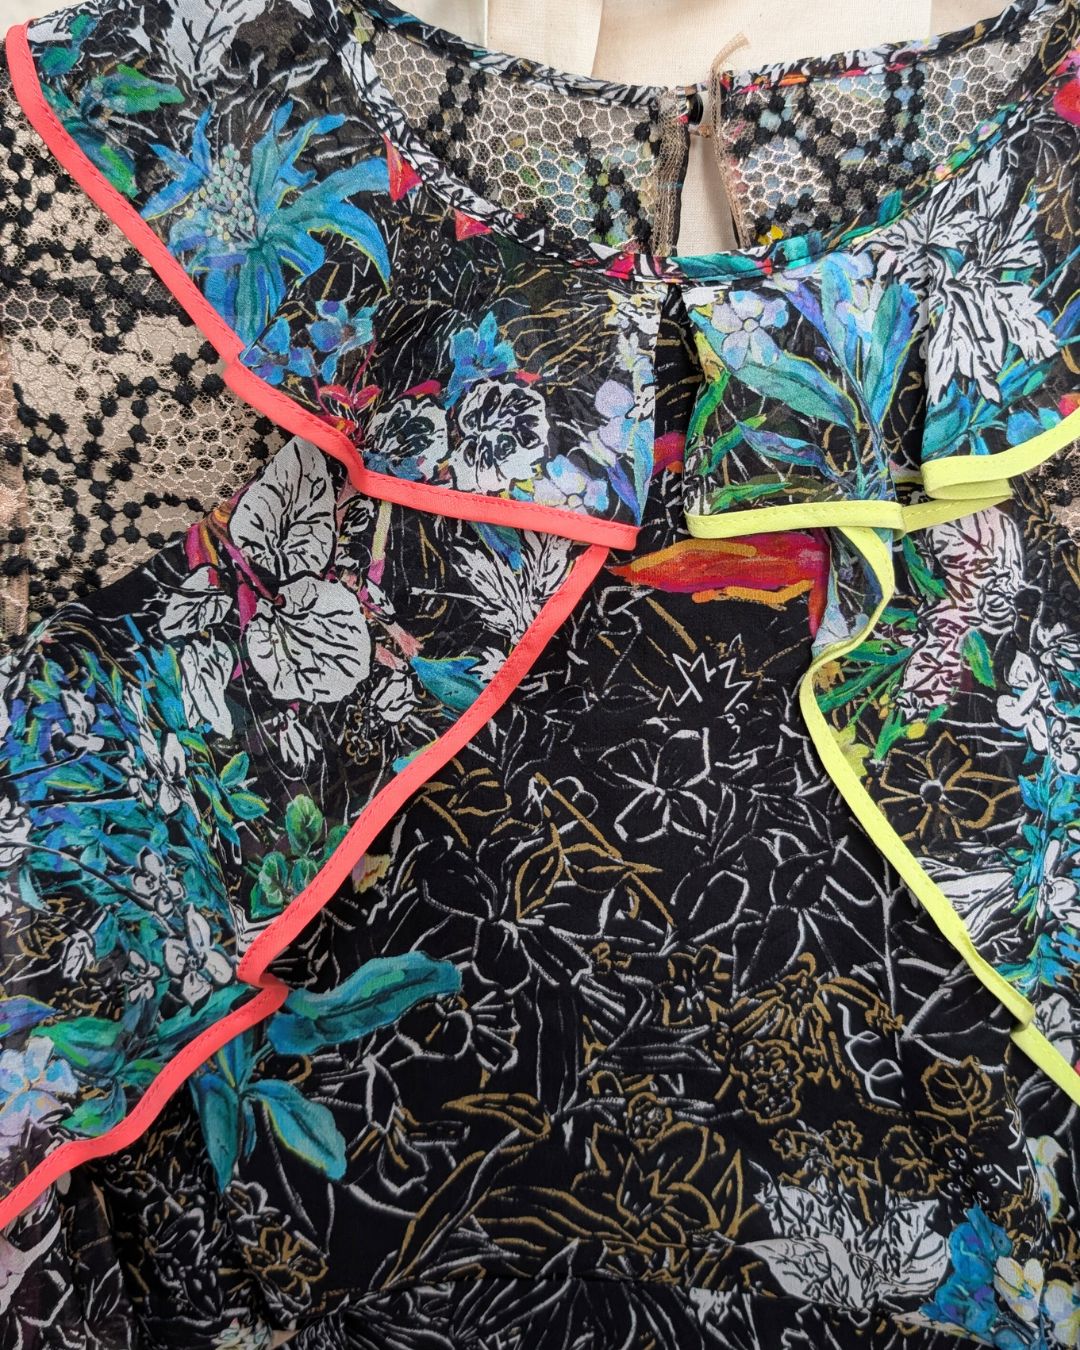
Bindings are my go-to finish for summer necklines, armholes, and even hems. They create a clean edge without the bulk of a traditional facing and can add a lovely design element too.
Visible Binding
A visible binding is a great way to hide raw edges and create an eye catching detail at the same time.
You can create your own bias binding by cutting a 3cm wide strip of fabric, on the bias grain, for a 7mm finished binding.
Or you can buy pre-cut binding.
Try using a contrast fabric or colour to make a feature of this finish.
Invisible Binding (Also Called French Binding)
Inside binding is my absolute favourite for summer garments.
Instead of wrapping the binding around the edge to the outside and leaving it visible, you fold it one more time so that it's hidden inside the garment. Secure it with an edge stitch or hand tack it in place.
💡Sometimes this can be a little bulky, so it's helpful to eliminate a layer of fabric within the binding itself. Here's how:
Place your binding and fabric piece right sides together and stitch 6mm in from the edge
Fold the binding over the raw edge and press in place.
Trim away any excess width from the binding, so that the raw edge of the binding is level with the first stich line that you made.
Fold the fabric and binding over, so that all raw edges are encased between the two and the binding in only visible from the inside of the garment.
Top stitch through the binding and fabric, along the lower edge of the binding (or hand tack in place) to secure.
This technique eliminates any ridge or bulk against your skin, making it perfect for necklines and armholes in lightweight garments.
✨Clever Elastic Finishes
Elastic is brilliant for summer garments, creating shape without structure. But traditional elastic channels can be bulky. Try these lightweight alternatives instead:
Exposed Elastic
Exposed elastic has become a style feature in recent years, not just a functional element.
Choose a pretty, decorative elastic (like this metallic one) for a fun detail!
For a lightweight finish encase your fabric raw edge between the fabric and elastic:
Lay the elastic over your fabric, wrong side of the elastic on top of the wrong side of the fabric, overlapping seam allowance only.
Stitch through the edge of the elastic, through the fabric and elastic.
Fold the elastic down so that the wrong side of the elastic sits on the right side of the fabric, encasing the raw edge between the elastic and fabric.
Stitch along the bottom edge of the elastic, through the fabric elastic and fabric.
Elastic Shirring
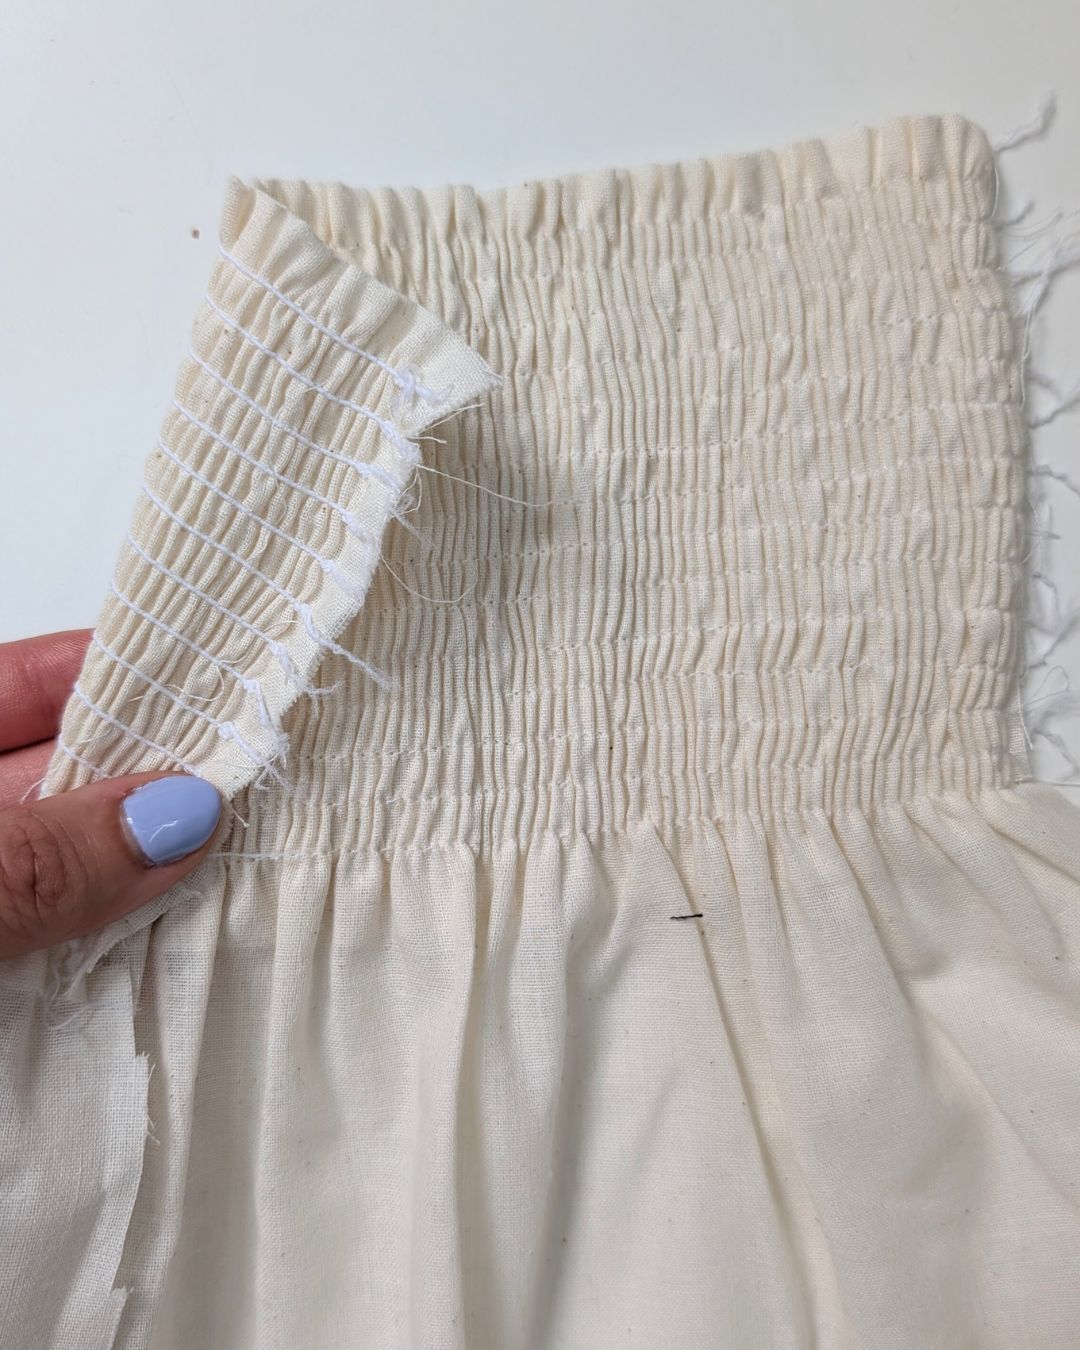
Shirring is perfect for creating gentle gathers and stretch in summer garments.
Wind elastic thread onto your bobbin by hand (without stretching it), use regular thread on top, and sew straight lines where you want the gathering effect. The elastic thread will naturally pull the fabric together, creating soft shaping that expands to fit the body.
The trick here is getting the tension correct for your fabric, don't forget to test your tension on a fabric scrap first to perfect your settings.
Elastic Bindings
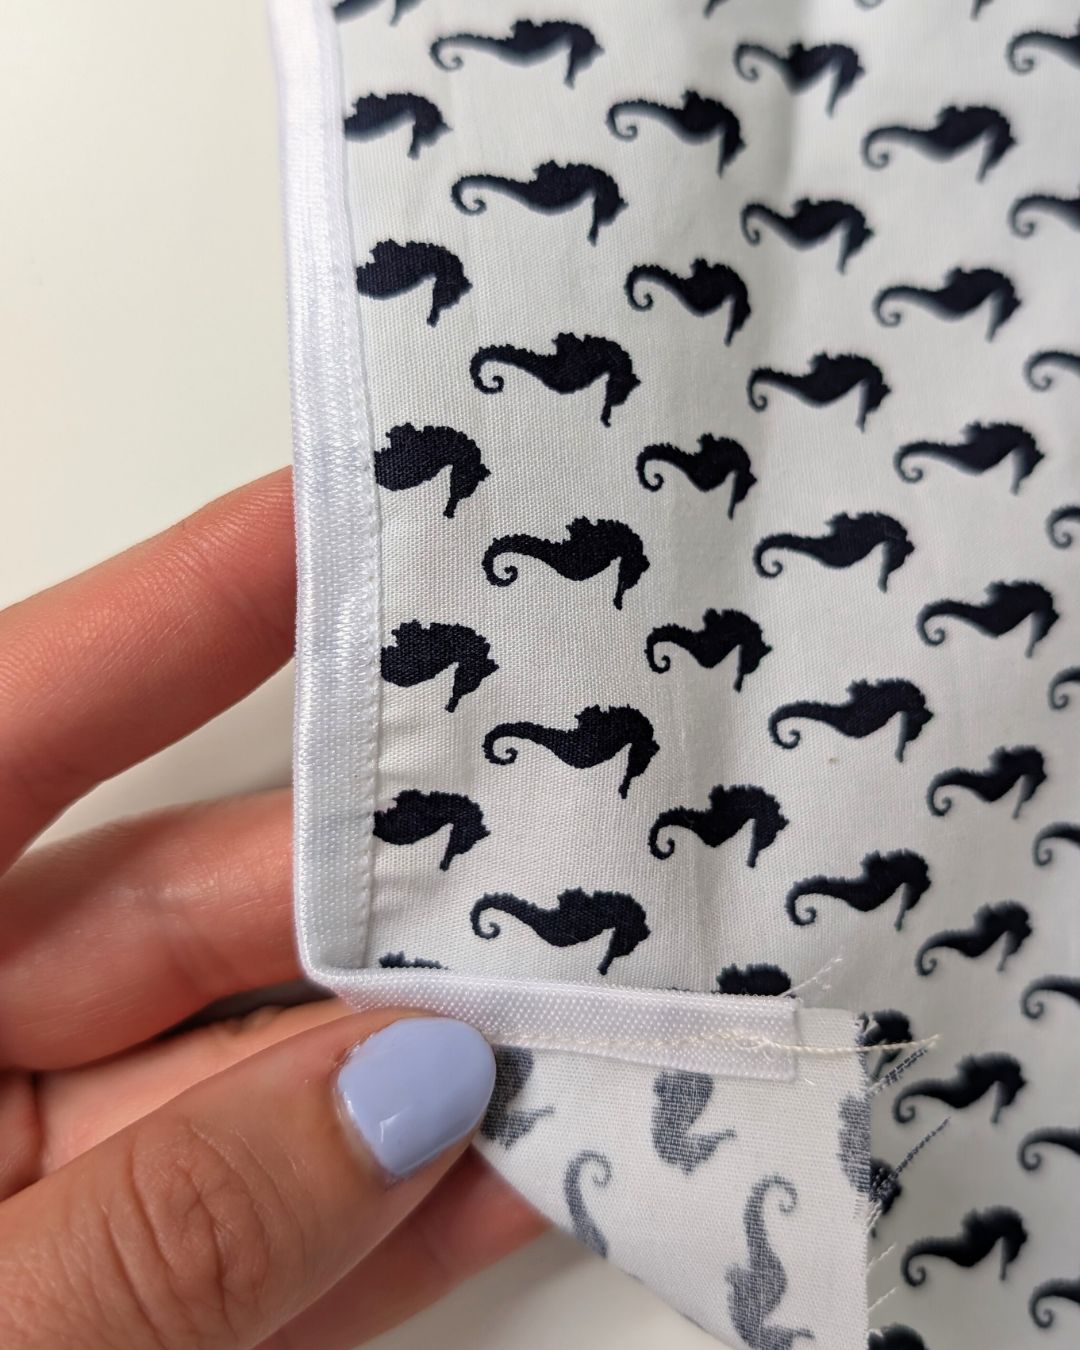
Elastic bindings combine the best of both worlds, the clean finish of a binding with the comfort and stretch of knit fabric.
You'll mostly find this finish on swimwear, lingerie and jersey knits, but I've also used this for woven garments!
Top tip: Cut your elastic bindings slightly shorter than the edge you're binding (about 10% less) to create gentle ease that hugs the body comfortably.
✨Technical Finishes
Summer garments often need a delicate and clean finish, that's where these beauties come in.
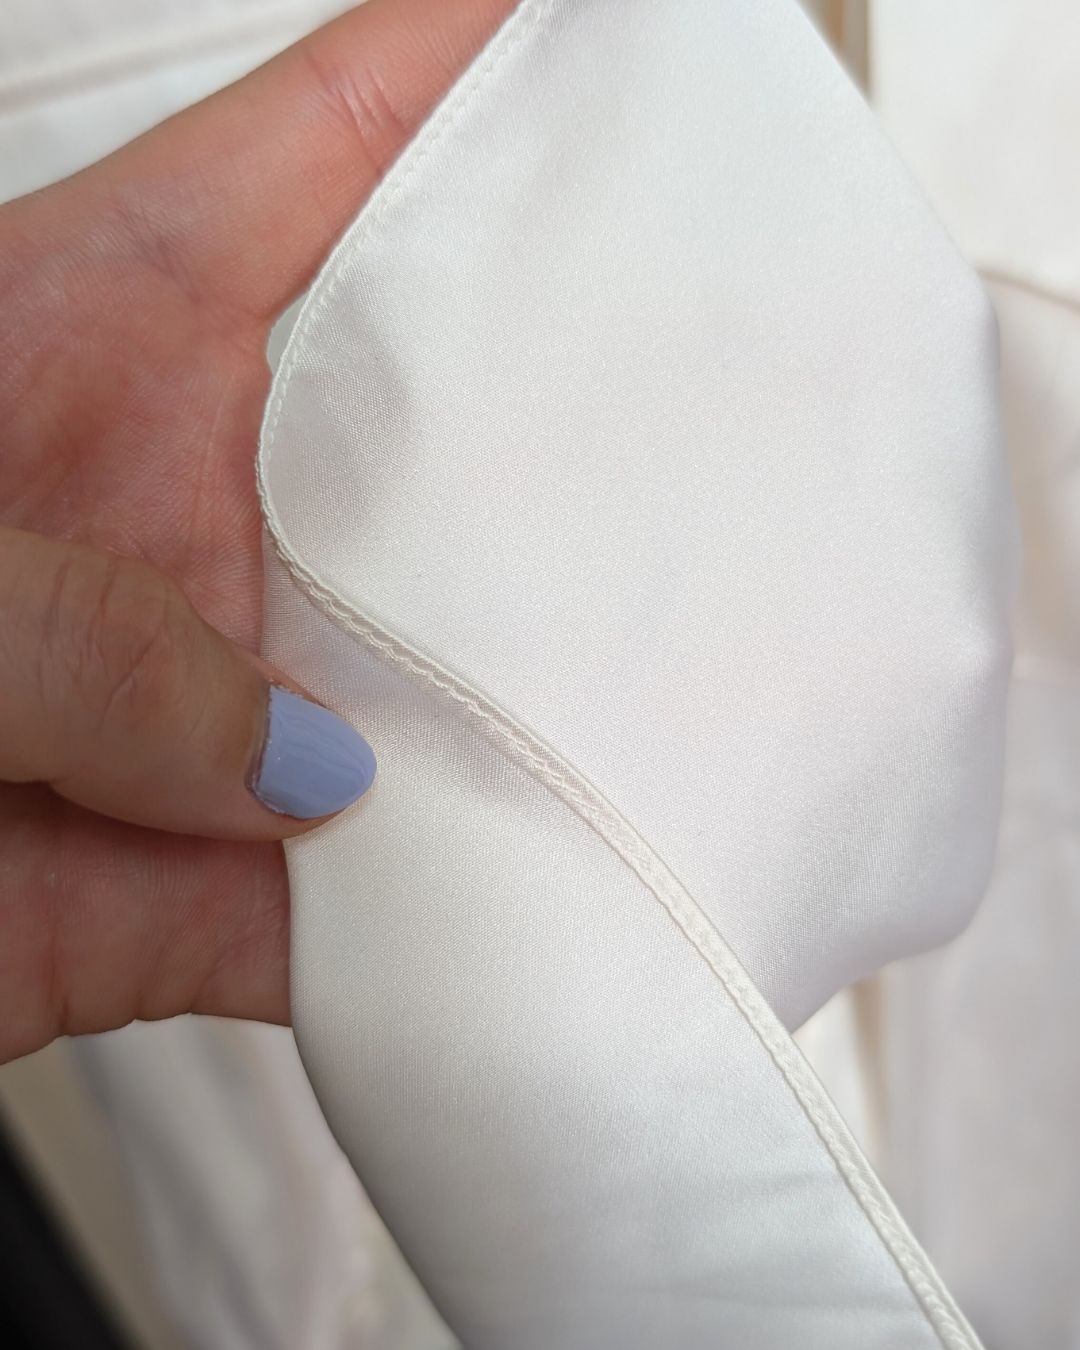
The Pin Hem (also called a rolled hem)
A pin hem is the ultimate lightweight edge for summer garments. Whether done by hand or with a special foot this tiny hem adds virtually no bulk while securing raw edges beautifully.
For a very narrow finish, try this technique:
Fold your seam allowance up, wrong sides together, and stitch as close to the folded edge as possible.
Trim away excess, cutting as close to the stitch line as possible.
Fold the fabric once more, hiding the raw edge and keeping the fold as small as possible, and stitch through all layers.
The result is a nearly invisible hem that won't weigh down delicate fabrics. Practice on scraps first, as this technique requires a light touch and consistent seam allowances.
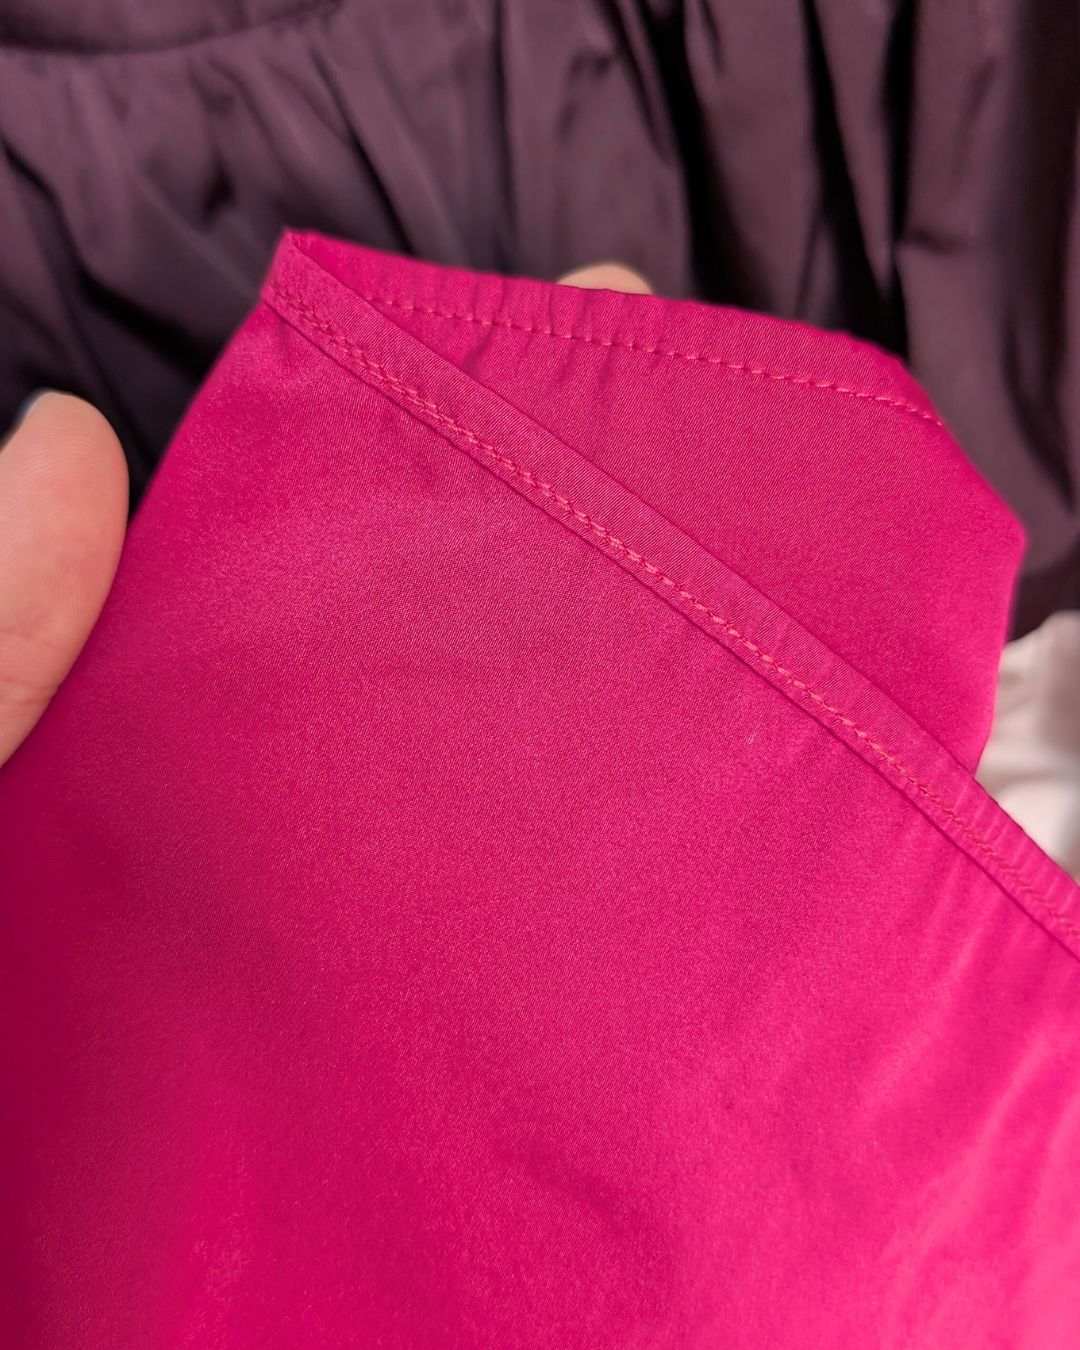
Double Turned Hems
Double turned hems are slightly wider than rolled hems but still very delicate. Perfect for cotton voile, lawn or linen shirts they create a clean finish that's easier to sew than a pin hem:
For a precise hem, with lots of control, follow the pin hem instructions but trim excess at around 6mm from the first folded edge.
Then fold the fabric again, using the raw edge to guide you, and stitch over the first stitch line.
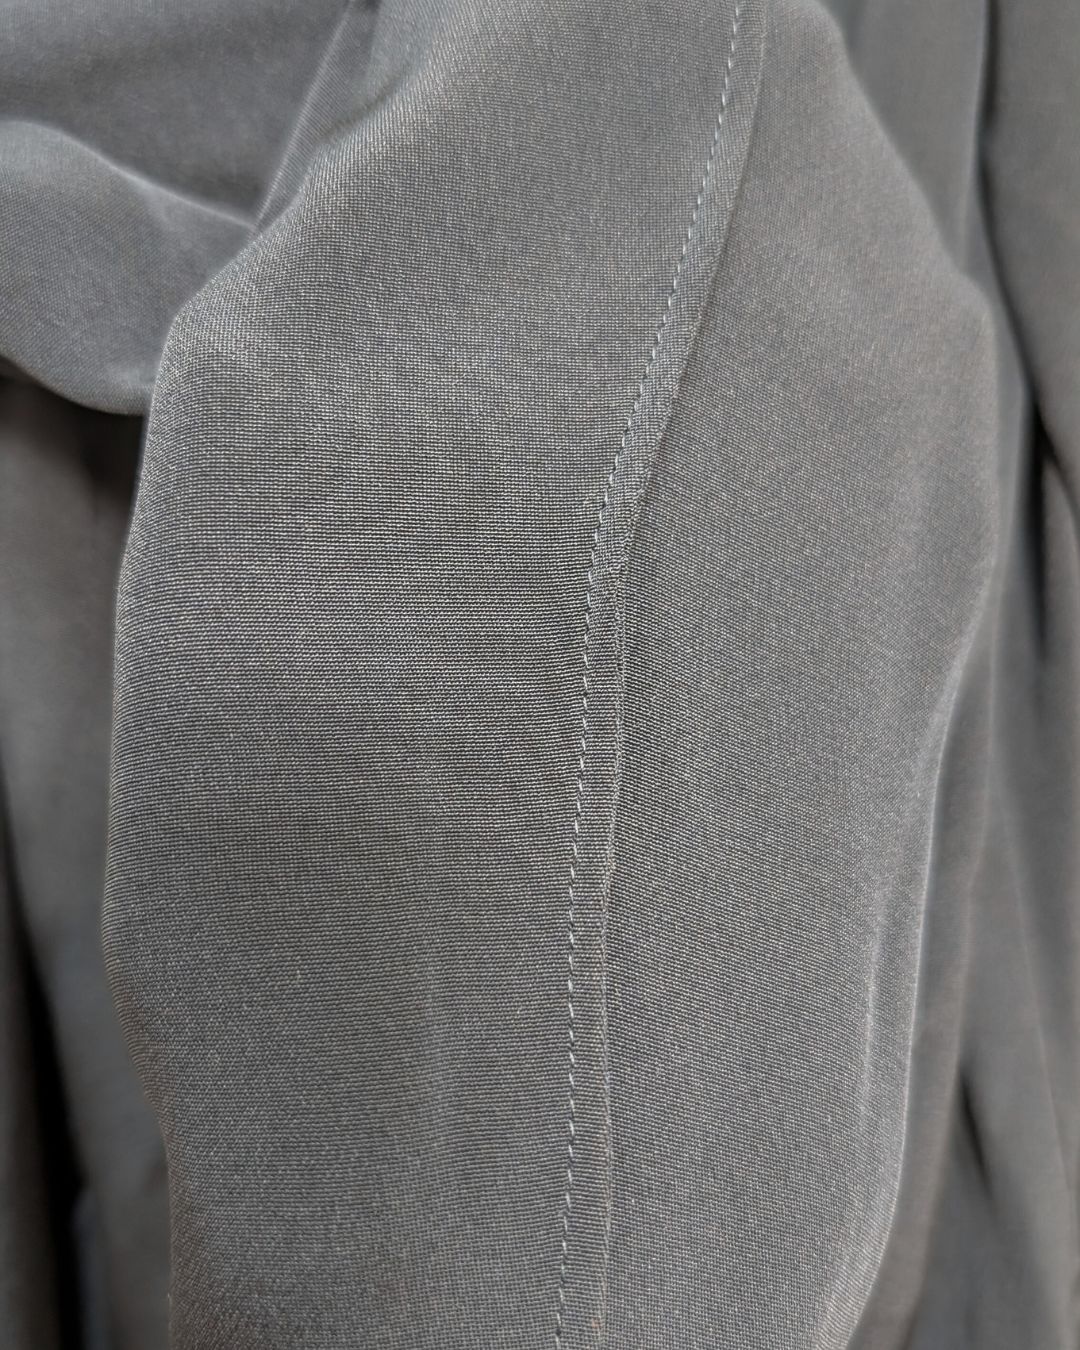
French Seams
French seams create a luxury finish for summer garments. They completely encase raw edges for a clean interior and can be made quite narrow for lightweight fabrics:
Place fabric wrong sides together, stitch a 5mm seam.
Trim the seam allowance to 2mm and turn fabric so right sides are together.
Stitch a 5mm seam again, encasing the raw edges.
The result is a clean 5mm French seam with no raw edges. Perfect for sheer summer fabrics where the inside will be visible.
Professional Tips for Success
Test everything first: Always sample your chosen finish on scraps of your actual fabric. Different fabrics behave differently, and what works for one might not work for another.
Choose the right tools: Use fine needles (60-70 microtex for wovens, 75 ballpoint for knits) and lightweight thread to avoid creating bulk in seams and finishes.
Press at every stage: Good pressing is crucial for professional looking garments. Use the correct heat settings and consider using a press cloth to protect delicate fabrics.
Stabilize when needed: Use fuse tape or stay stitch along necklines and armholes to prevent stretching. Choose light weight fusing or delicate sew in options like cotton lawn or silk organza for maximum breathability.
Final Thoughts
The best finishes for summer garments are often the ones you barely notice, they do their job without drawing attention to themselves or creating discomfort in hot weather.
As you plan your next summer sewing project, consider how each edge, each seam, each closure will feel against your skin on a hot day. Those thoughtful choices will transform good garments into great ones, the kind you'll reach for summer after summer.
What are your favourite lightweight finishing techniques? Do you have questions about any of the methods we've discussed? Tell me on Instagram or email me [email protected]!
Next week, we'll be looking at quick summer projects you can finish in a weekend, perfect for adding those last few pieces to your warm-weather wardrobe before the season ends. Until then, happy sewing!
Want More Help?
You don't have to figure it all out on your own. Our membership includes tutorials, live sessions, and expert guidance every step of the way.
Join the waitlist here → https://project-patterns.co.uk/pattern-cutting-membership
